On this page
Sanding and surface preparation is unglamorous but arguably the single most important factor in how a paint job actually turns out — more than paint brand, application equipment, or even painter skill, inadequate prep work is the most common root cause of a disappointing result.
The core principle is simple even if the execution takes patience: paint needs a clean, appropriately textured surface to bond to properly, and every imperfection present before painting (dust, old paint texture, minor dents) will show through, not disappear, once color goes on.
How It Works
Sanding creates microscopic scratches in a surface that give paint and primer something to mechanically grip, which is why a perfectly smooth, glossy factory clear coat needs to be scuffed before new paint will adhere properly to it. Different grits serve different purposes in the process: coarser grits remove material quickly (for shaping filler or removing old paint), while progressively finer grits refine the surface toward the smoothness needed for a quality finish coat.
Wet sanding, using water as a lubricant, reduces heat buildup and helps prevent the sandpaper from clogging with removed material, generally producing a smoother result than dry sanding for finish-level work, though it requires proper technique to avoid sanding through to an underlying layer.
Types & Options
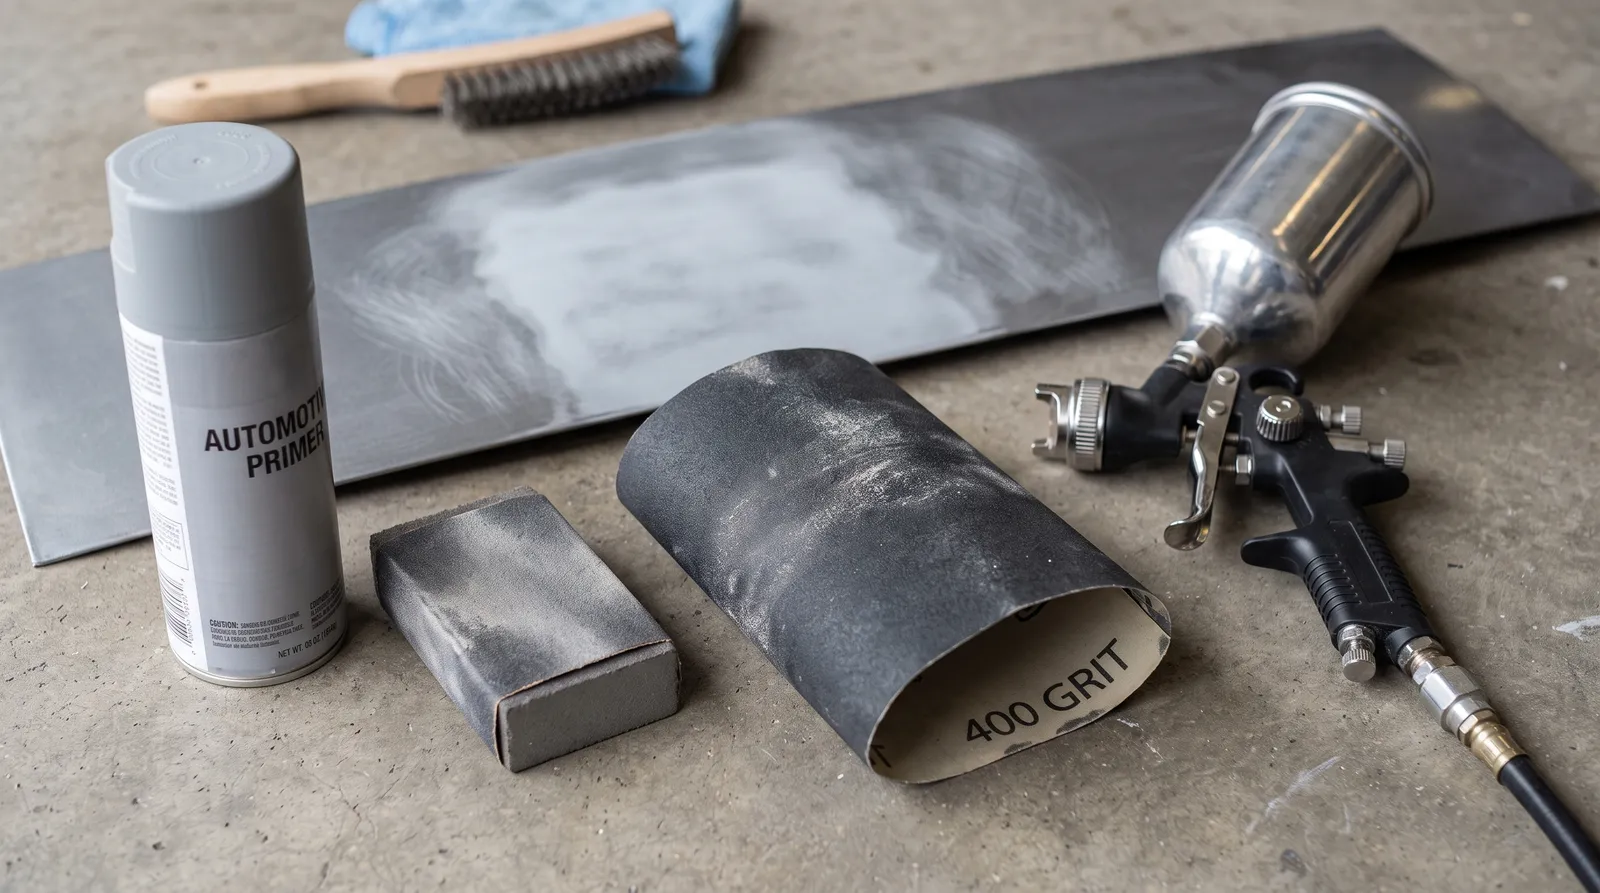
Grit numbers indicate coarseness — lower numbers (80-180) are aggressive, used for removing old paint or shaping body filler; mid-range grits (320-600) are typical for primer sanding and general surface prep; fine grits (1000-2000+) are used for final finish work and polishing prep before color or clear coat.
Different sanding tools suit different jobs: dual-action (DA) sanders for larger flat areas and efficiency, sanding blocks for controlled hand-sanding on curves and edges, and various specialty pads for tight or detailed areas that power tools can't easily reach.
Sanding discs and pads also come in different backing materials (foam, film, paper) suited to different tools and surface contours — foam-backed pads conform better to curves, while firmer backings suit flat panels.
How to Use It / Do It Right
Work through grits progressively rather than jumping straight to a fine grit, since each step is designed to remove the scratch pattern left by the previous coarser grit — skipping steps leaves deeper scratches that finer grits alone won't fully remove. Keep the surface (and sandpaper, for wet sanding) clean of removed material throughout, since trapped debris can create new scratches or unevenness.
Pay attention to panel edges and curves, which sand differently than flat areas and are easy to over-sand (creating a thin spot or breaking through to bare material) if not handled carefully, particularly with power tools.
A sanding guide coat — a thin, contrasting-color dusting applied before sanding — makes low and high spots immediately visible as sanding progresses, a technique many professional painters use to catch surface irregularities that would otherwise be easy to miss.
Rinse or vacuum the surface between each grit change rather than just wiping it, since leftover coarse-grit particles can scratch the surface again once you move to a finer grit.
Common Mistakes
Rushing through grit progression, or skipping steps to save time, is the most common mistake, leaving scratch patterns that show through the final finish, especially visible under certain lighting once paint is applied. Uneven pressure, particularly with power sanders, can create low spots or wavy panel surfaces that aren't obvious until paint (which reflects light and reveals surface irregularities far more than bare or primed material) goes on.
Insufficient cleaning between sanding stages, leaving dust or removed material on the surface, can also compromise the final finish's smoothness and adhesion.
Safety Considerations
Sanding, especially power sanding, generates fine dust that shouldn't be inhaled — wear an appropriate dust mask or respirator, and be aware that sanding old paint on vehicles manufactured before the 1970s can potentially involve lead-based paint, requiring additional precautions.
DIY vs. Professional
Basic sanding for a small touch-up or minor repair is accessible DIY work with common tools and patience. Extensive prep work — full panel or vehicle sanding, working with body filler, addressing significant surface irregularities — benefits considerably from professional experience and equipment, both for efficiency and for the trained eye needed to spot and correct surface issues before they become visible in the final paint.
Because prep quality has such an outsized effect on final results, it's one area where paying for professional work, even on an otherwise DIY project, can meaningfully improve the outcome.
A Practical Tip
A helpful mental model: each sanding stage should remove the scratch pattern left by the previous, coarser stage — if you can still see scratches from two steps back after your current sanding pass, you likely need to spend more time at the current grit before moving finer.
Cost Considerations
Sanding and surface prep typically represents a significant portion of labor time (and therefore cost) in any professional paint job, often more than the actual paint application itself, reflecting how much careful, detail-oriented work goes into getting a surface truly ready.
See our cost guide for how prep work factors into overall project pricing across different job types.
Quality sandpaper and pads cost more upfront than bargain alternatives but often work more consistently and last longer, which can offset the price difference over the course of a full project.
Frequently Asked Questions
What grit sandpaper should I use before painting a car?
It depends on your starting surface, but a common progression for prep before primer is around 180-320 grit, then finer grits (400-600) before color coat, and finer still (1000+) for wet sanding between clear coats — always check your specific paint system's recommendations.
Do I need to sand the entire car or just the damaged area?
For a spot repair, just the affected area plus a blend zone; for a full repaint, the entire surface needs appropriate scuffing or sanding depending on the existing finish's condition.
Is wet sanding better than dry sanding?
For finish-level work, wet sanding generally produces a smoother result and reduces dust, though dry sanding is often preferred for earlier, more aggressive material removal stages.
How do I know if I've sanded enough before painting?
The surface should feel uniformly smooth with no shiny (unsanded) spots remaining, and any visible scratch pattern from sanding should be fine and consistent rather than deep or uneven.
Can I skip sanding if I'm just touching up a small chip?
Light sanding of the chip's edges is still recommended even for a small touch-up, to smooth the transition and help the new paint adhere properly rather than sitting as a raised patch.
What happens if I sand through to bare metal accidentally?
This isn't necessarily a problem — clean the exposed area and apply appropriate primer (etch or epoxy) before continuing, treating it the same as any other bare metal spot in your prep work.
Can I use a power sander on curved panels?
With caution and the right pad type — flexible or foam-backed pads work better on curves than rigid ones, though many painters prefer hand-sanding tight curves and edges for better control.
How do I know when to stop sanding and move to the next grit?
The surface should look uniformly dull/scratched from the current grit with no shiny unsanded spots remaining before moving to the next, finer grit.
Can I skip primer sanding if the primer looks smooth already?
Sanding is still recommended even on smooth-looking primer, since it creates the mechanical texture needed for color coat adhesion, not just visual smoothness.
What's the difference between a sanding block and sanding by hand?
A sanding block distributes pressure evenly across a flat surface, helping avoid the low spots and unevenness that can result from finger-pressure hand sanding alone.
Does location affect the price?
Yes — labor rates and material costs vary meaningfully by region, so the same job can price differently between a major metro area and a smaller local market. Get quotes locally rather than relying on a national average.
Does humidity affect sanding and prep work?
High humidity can affect how primer and filler cure between sanding stages, potentially extending recommended wait times — check product-specific guidance for humid conditions.